Bootstrap Textarea Example
Intro
Inside the web pages we build we apply the form components to collect some info coming from the website visitors and send it back to the website founder fulfilling different objectives. To do it properly-- meaning getting the right answers, the appropriate questions must be questioned so we architect out forms system carefully, consider all the achievable instances and kinds of relevant information required and actually delivered.
But despite of exactly how accurate we operate in this, there certainly always are some circumstances when the info we need to have from the user is relatively blurred before it gets in fact supplied and needs to spread over a whole lot more than simply just the regular a single or else a couple of words normally completed the input fields. That is definitely where the # element arrives-- it is certainly the only and irreplaceable element through which the site visitors are able to freely write back certain sentences supplying a responses, providing a reason for their activities or just a number of thoughts to perhaps assist us producing the services or product the webpage is about much better. ( get more info)
The ways to make use of the Bootstrap textarea:
Located in the most recent edition of some of the most favored responsive framework-- Bootstrap 4 the Bootstrap Textarea Input feature is fully assisted automatically adapting to the size of the display screen web page gets presented on.
Developing it is pretty uncomplicated - everything you need is a parent wrapper
<div>.form-grouplabel<textarea>for = “ - the textarea ID - "Next we demand to create the
<textarea>.form-controlfor = ""<label><textarea>rows=" ~ number ~ "<textarea>Considering that this is actually a responsive feature by default it spreads out the whole size of its parent component.
Extra advices
On the other side-- there are really certain circumstances you would definitely intend to limit the reviews provided within a
<textbox>maxlenght = " ~ some number here ~ "Some examples
Bootstrap's form regulations expand on Rebooted form styles using classes. Employ these classes to opt in their customised displays for a more consistent rendering throughout devices and browsers . The example form listed here displays usual HTML form elements that receive improved designs from Bootstrap with added classes.
Just remember, given that Bootstrap incorporates the HTML5 doctype, each of inputs must have a
type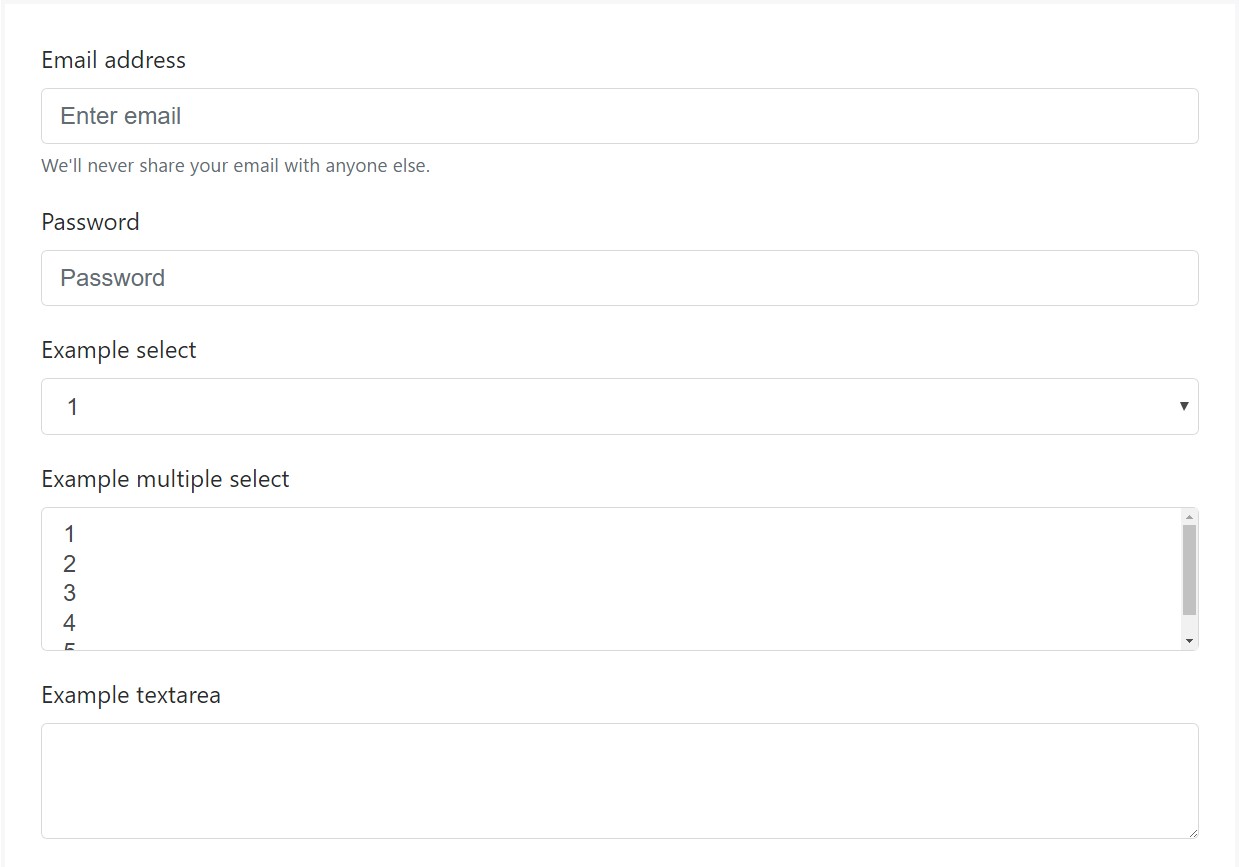
<form>
<div class="form-group">
<label for="exampleInputEmail1">Email address</label>
<input type="email" class="form-control" id="exampleInputEmail1" aria-describedby="emailHelp" placeholder="Enter email">
<small id="emailHelp" class="form-text text-muted">We'll never share your email with anyone else.</small>
</div>
<div class="form-group">
<label for="exampleInputPassword1">Password</label>
<input type="password" class="form-control" id="exampleInputPassword1" placeholder="Password">
</div>
<div class="form-group">
<label for="exampleSelect1">Example select</label>
<select class="form-control" id="exampleSelect1">
<option>1</option>
<option>2</option>
<option>3</option>
<option>4</option>
<option>5</option>
</select>
</div>
<div class="form-group">
<label for="exampleSelect2">Example multiple select</label>
<select multiple class="form-control" id="exampleSelect2">
<option>1</option>
<option>2</option>
<option>3</option>
<option>4</option>
<option>5</option>
</select>
</div>
<div class="form-group">
<label for="exampleTextarea">Example textarea</label>
<textarea class="form-control" id="exampleTextarea" rows="3"></textarea>
</div>
<div class="form-group">
<label for="exampleInputFile">File input</label>
<input type="file" class="form-control-file" id="exampleInputFile" aria-describedby="fileHelp">
<small id="fileHelp" class="form-text text-muted">This is some placeholder block-level help text for the above input. It's a bit lighter and easily wraps to a new line.</small>
</div>
<fieldset class="form-group">
<legend>Radio buttons</legend>
<div class="form-check">
<label class="form-check-label">
<input type="radio" class="form-check-input" name="optionsRadios" id="optionsRadios1" value="option1" checked>
Option one is this and that—be sure to include why it's great
</label>
</div>
<div class="form-check">
<label class="form-check-label">
<input type="radio" class="form-check-input" name="optionsRadios" id="optionsRadios2" value="option2">
Option two can be something else and selecting it will deselect option one
</label>
</div>
<div class="form-check disabled">
<label class="form-check-label">
<input type="radio" class="form-check-input" name="optionsRadios" id="optionsRadios3" value="option3" disabled>
Option three is disabled
</label>
</div>
</fieldset>
<div class="form-check">
<label class="form-check-label">
<input type="checkbox" class="form-check-input">
Check me out
</label>
</div>
<button type="submit" class="btn btn-primary">Submit</button>
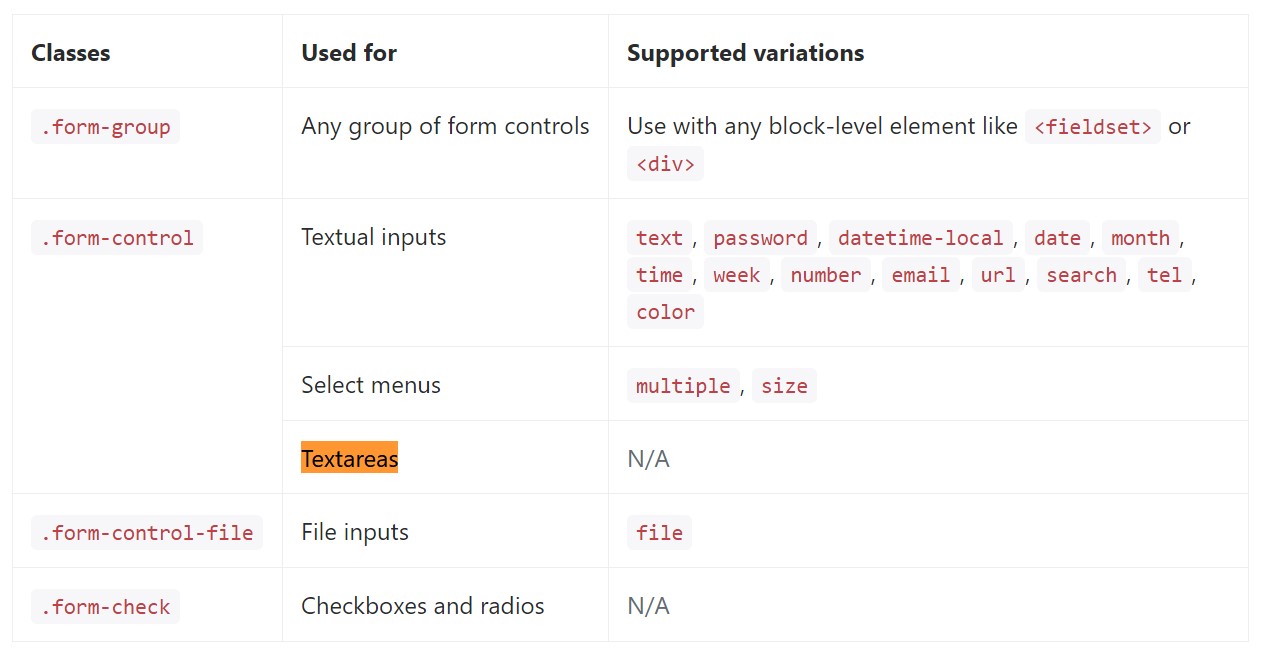
</form>Listed here is a full list of the certain form controls supported by means of Bootstrap and the classes that customize them. Supplementary documentation is obtainable for every group.
Conclusions
And so currently you know tips on how to build a
<textarea>Check out a few youtube video training about Bootstrap Textarea Group:
Related topics:
Essentials of the textarea

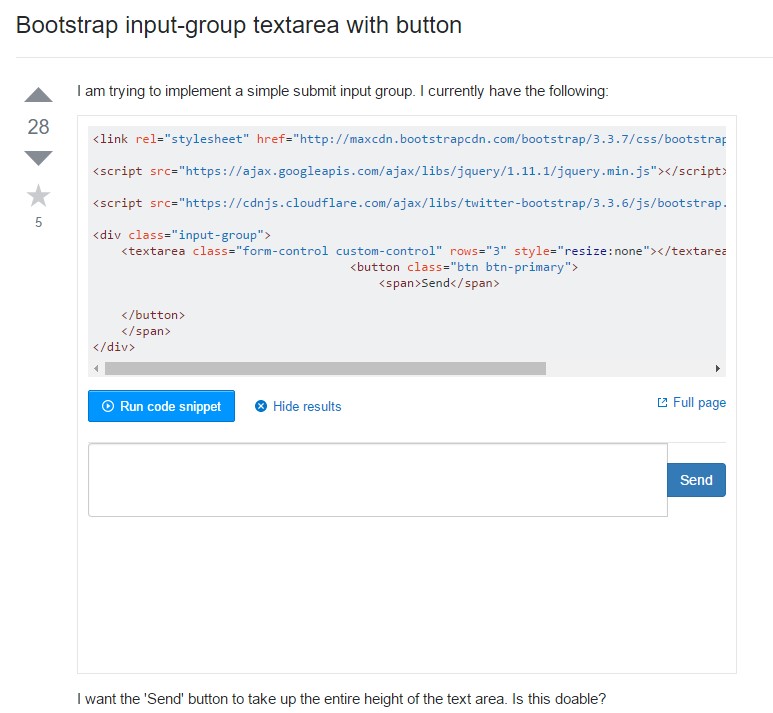
Bootstrap input-group Textarea button utilizing
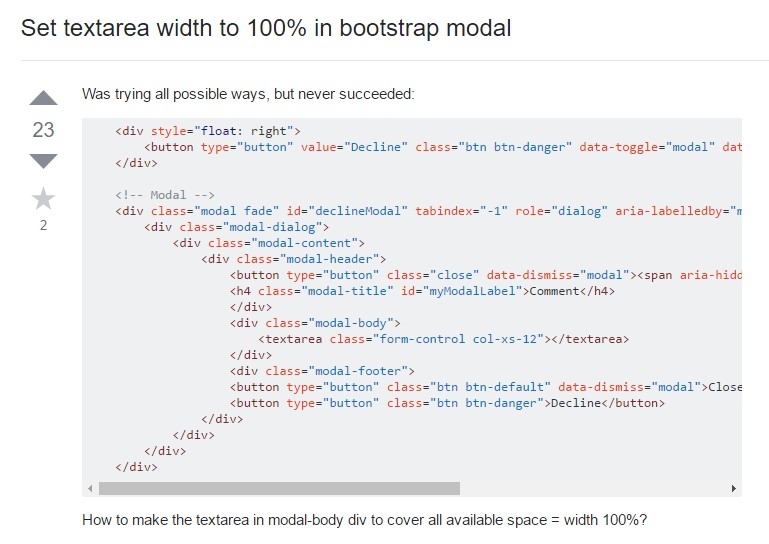
Set up Textarea width to 100% in Bootstrap modal